Hello friends, Today we will tell you in this article how you can root your Samsung Galaxy A50. You can easily root with our methods. Although the process of rooting is a bit complicated, it is not a problem; all you have to do is follow our steps step by step. And your device will be rooted successfully.
What is Root?
Rooting Android is a process by which you can gain superuser access to your Android device. This allows some deeper and more controlled changes to be made to your device, such as accessing system files and adding features that are prohibited by other manufacturers.
This means that when you root your Android device, you can work on it with more freedom, but it may pose issues with security and stability, and it may also void your warranty.
Advantages or Benefits of rooting
- Supervisor Access: A rooted phone gives you more control and allows you to get supervisor access.
- Backup and Restoration: You can easily backup and restore your data, increasing the security of your important data.
- Ad-Free Applications: Rooting allows you to remove ads from applications, improving your experience.
- Improved Battery Life: By rooting, you can extend the battery life and use battery-saving applications.
- Opportunity to Customize: Rooting allows you to customize your phone to your liking, such as by choosing your own fonts, icons, and themes.
Disadvantages or Cons of Rooting
- Bricked Risk: A rooting mistake puts your device at risk of getting bricked, which means it can become completely unusable and difficult to repair.
- Impact on battery life: Some rooted applications can affect battery life as they keep running in the background and can consume more battery.
- Upgrade Required: You may need to unlock your rooted device to update to newer versions of the operating system, which may again cause security and warranty issues.
- Losing Guarantee: Rooting your device may negate your guarantee, as performing extractions in multiple ways can void the guarantee.
- Security Threat: When you root your device, your security may be at risk. If you allow bad applications or system files to be accessed, you open the door to someone hacking your device.
Pre Requirements:
- Data Backup: Rooting has the potential to corrupt your device’s data, so before rooting, keep your device’s data in a safe place.
- Battery charge: During rooting, your device’s battery may drain completely, so make sure that your device’s battery is more than 80% charged.
- Device version check: very carefully, check your device’s model number and version because you will need to Understand the correct rooting method and download other files for your device.
- Internet access: You will need internet access during rooting to download unlock tools and some files.
- Correct USB Drivers and Cable: Install the right USB drivers for your device on your PC And select an original USB Cable. This will help you connect your phone to the PC properly.
Let’s Root Samsung Galaxy A50
We tried many different methods before settling on two that are safe and straightforward. The Samsung Galaxy A50 can be rooted without a PC using Method #1, and Method #2 involves utilizing the TWRP Custom Recovery. But before rooting, complete the criteria. Without further ado, let’s root your Samsung Galaxy A50.
Warning:- Please be aware that rooting can violate your device’s warranty and expose it to security risks; proceed at your own risk.
Method #1: Root Samsung Galaxy A50 Without PC
- Download and Install the KingoRoot app on your Samsung Galaxy A50.
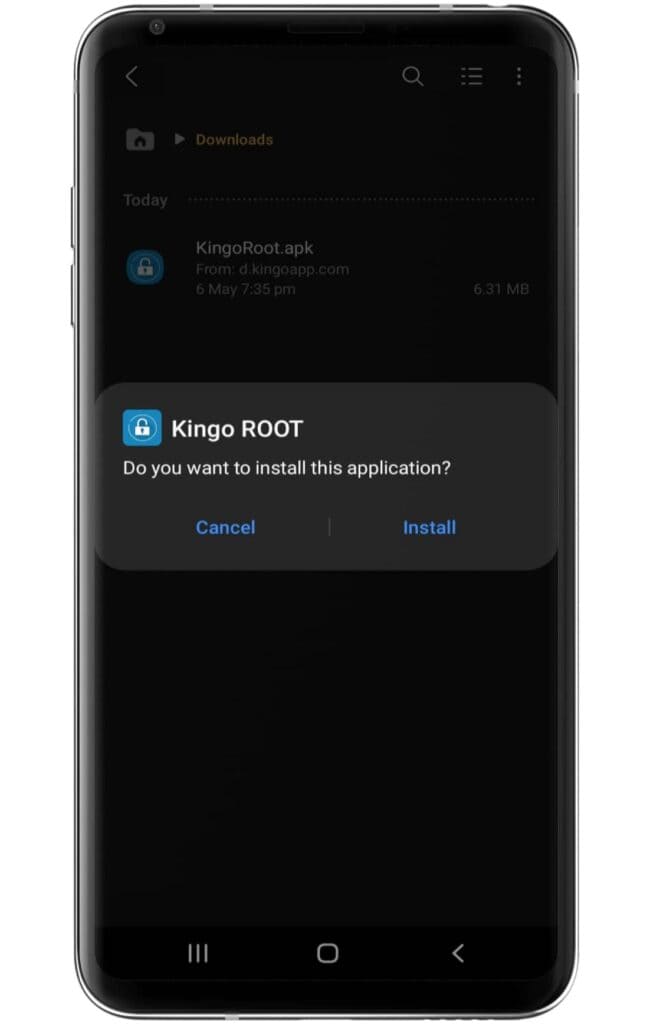
- Make sure to enable the “unknown source” settings on your device.
- Now, open the application and click on the One Click Root option.
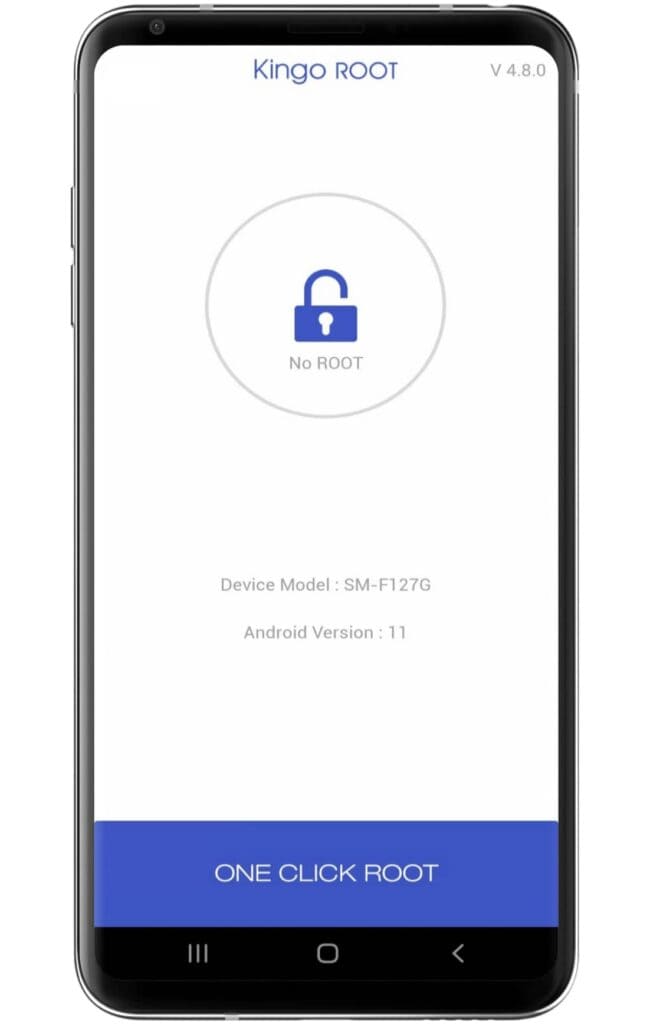
- Wait until the Rooting process ends on the Kingoroot app.
- After completing the process, Your Samsung Galaxy A50 has been successfully rooted.
Method #2: Using the TWRP Custom Recovery
Step 1: Unlock the bootloader
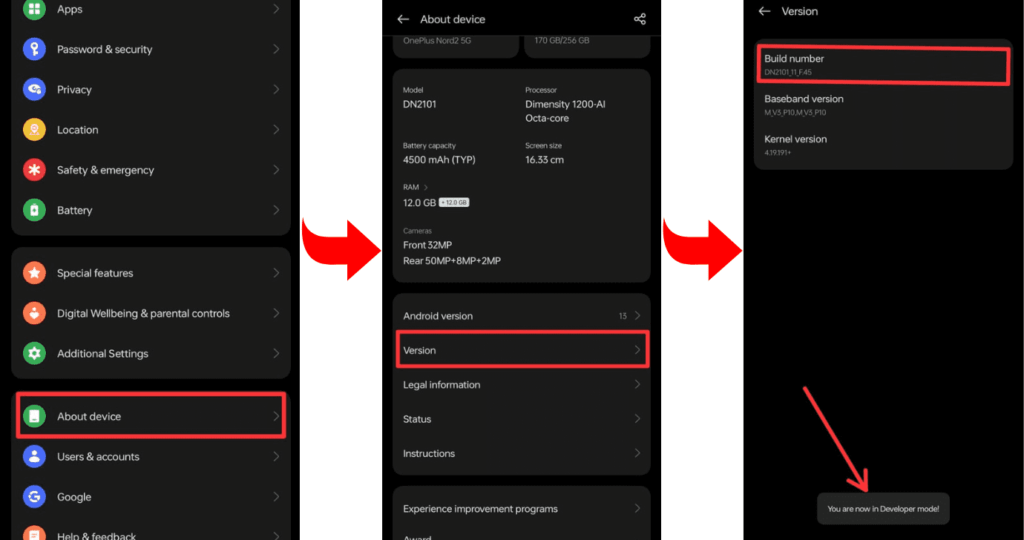
- Enable Developer Options: Go to device Settings, scroll down, and tap on >> “About phone” >> then tap on >> “Build number”, several times until >> “Developer Options” is activated.
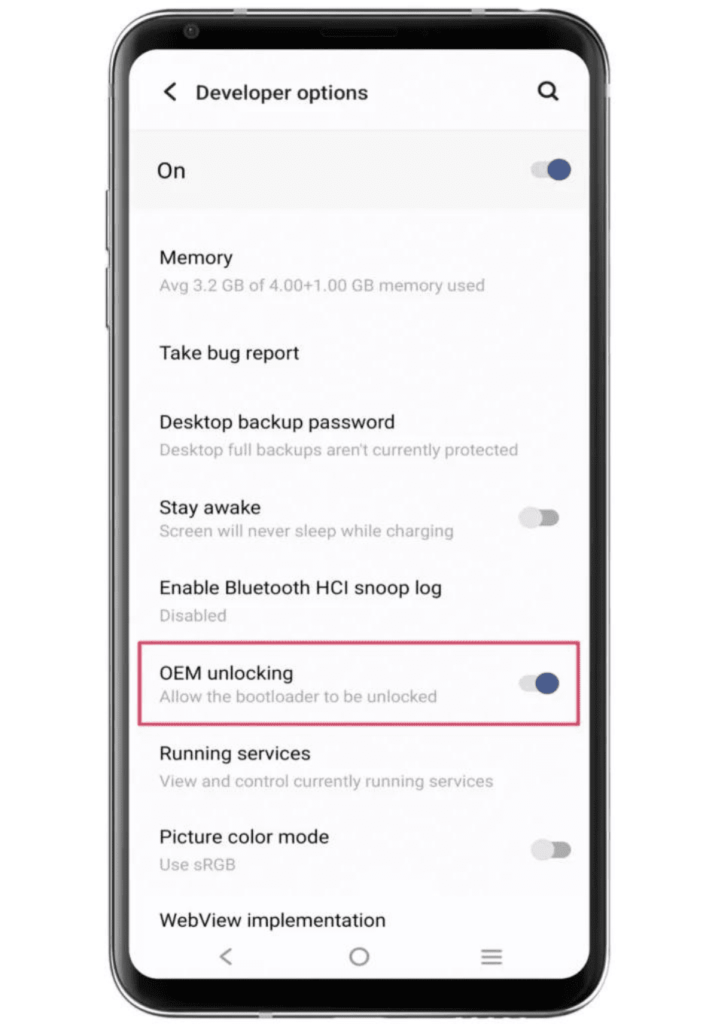
- Go to Settings and select “Developers Mode.” Now find the options “OEM Unlocking” and “USB Debugging” and enable them.

- Now boot your Samsung Galaxy A50 into bootloader mode to Unlock the Bootloader.
- Connect the phone to the PC or Laptop using a USB cable.
- Type the command “fastboot oem unlock” in the terminal.
Step 2: Install and flash TWRP Custom Recovery
- Download the file: Go to the TWRP official website and download the TWRP recovery file for your Samsung Galaxy A50, according to your device’s model “Galaxy A50” and brand “Samsung”. The file can be a string or in “img” format.
- Boot your phone into bootloader mode: To enter Bootloader Mode, you can press and hold your phone’s “Power button” and “Volume Down” buttons simultaneously. After that, you have to select “Bootloader” or “Fastboot” by using the “Volume Up/Down button”.
- Flashing TWRP Recovery: After getting your phone into Fastboot mode, use a USB cable and connect it to your PC.
- Flash the recovery: Now, open the flashing tool on your PC and select the TWRP recovery file of your phone. Select the appropriate option to flash the file, and wait for the process to complete.
If you need a TWRP installation guide, check out our related posts; you may know more about TWRP Custom Recovery.
Step 3: Get the correct Magisk Zip
We are assuming that you have successfully completed the TWRP flashing process on your Samsung Galaxy A50, which we have explained very well in the earlier steps. After completing the TWRP process, you are ready to flash Magisk ZIP files. So now download the latest Magisk zip file, which is given below.
Step 4: Root using Magisk Zip
- Let’s start by booting TWRP custom recovery.
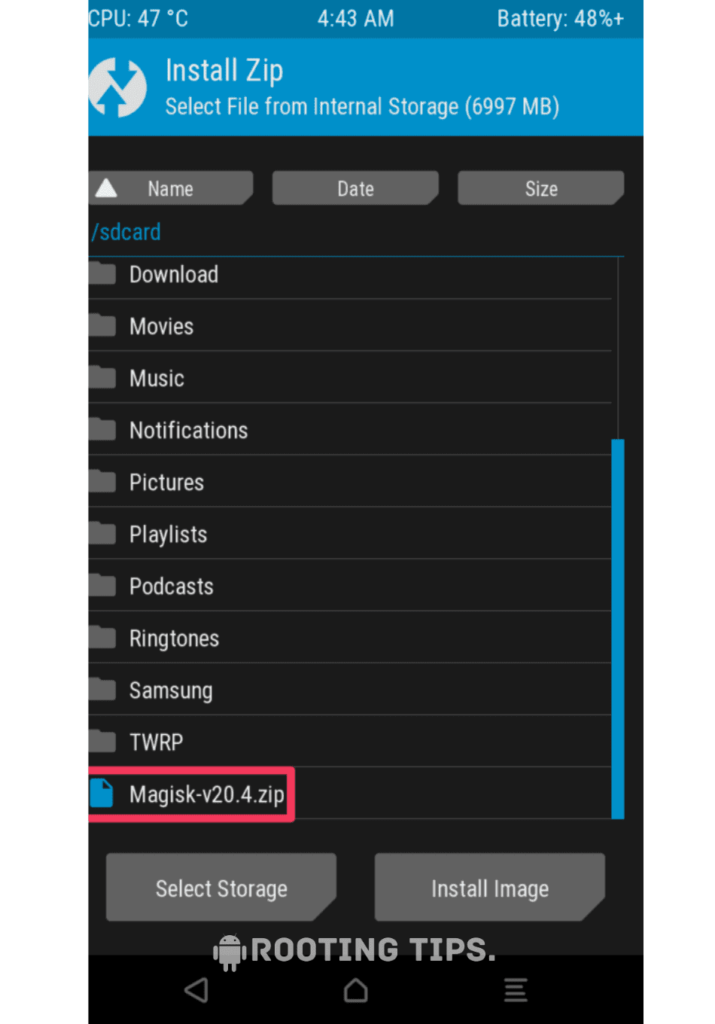
- Press on the “Install button” and find the “Magisk file”.

- Select the “.Zip” file from the shown list to open the flashing menu.
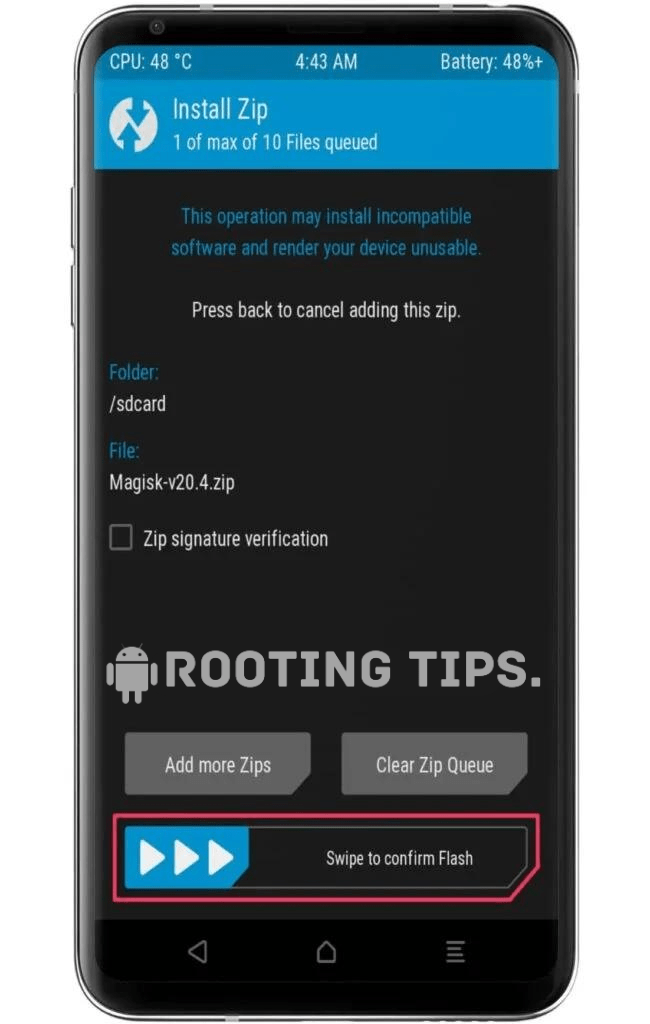
- “Swipe right” to start the flashing process.
- Reboot your device when the flashing process is complete.
Awesome! Your Samsung Galaxy A50 has been successfully rooted. The administrator level of your device now allows you to change the system settings.
Frequently Asked Questions (FAQs)
Ans. Rooting itself doesn’t delete data, but the process carries a risk of data loss if not done correctly. It’s essential to backup your data before attempting to root your device, as mistakes during the rooting process can lead to data deletion or device malfunctions.
Ans. Rooting your phone itself doesn’t necessarily make it slower, but improper use or installing certain root apps can potentially slow down your device due to increased system access and resource usage. It’s crucial to exercise caution and only use trusted root apps to maintain performance.
Ans. Rooting Android 12 may be possible, but it depends on the specific device and software version. The availability of root methods can vary, so research your device and Android 12 compatibility before attempting to root. Be cautious, as rooting can void warranties and pose security risks.
Conclusion
We hope that you have successfully rooted your Samsung Galaxy A50 using the methods we mentioned above. And if you face any problems with our methods or have any difficulty understanding them, then tell us. We will find a solution to that. And then deliver it to you in a better way. And rooting voids the warranty of your Samsung Galaxy A50, Thank you.